 . .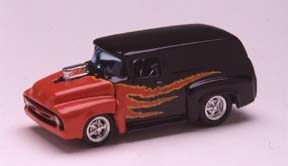 '56 Ford Panel Trucks Getting a Hand on Flame Painting by Tim Phelps Photos by Jim Durham So you say you don't have an airbrush and you are not sure how one works. The airbrush may even seem intimidating to some of you. There may be too many varieties on the market from which to choose. And what about all of the accessories- the air supply (canister, tank, or compressor?) and the variety of tips and cups. You like the fade effects of an airbrush but are not sure how to achieve them? "Forget about it"-Never fear- there is an alternative which can give you surprisingly great results. Hand painting can be challenging but with some practice and patience- it can be a lot of fun. Portions of this article first appeared in Toy Cars and Vehicles, July 2000, Krause Publications. This "How-to" follows the initial body painting steps outlined in the October issue of this Webzine. The body paint has cured for at least 2 days. With brush in hand- you are anxious to make some hand painted flames. But first, let's plan out your attack! Place the car body on a piece of paper and trace around the body outline. This gives you an area in which you will create your flame sketch. Scribble your designs to get a feeling for your final flame placement. Tracing paper is a great surface to draw on; it also drapes and conforms nicely to the car body to check the placement of your flame designs. Each of these low riding street cruisers was spray painted with black paint. After three days of curing, the car was masked with low tack masking tape, protecting the back half of the car. Red paint was lightly and carefully sprayed on the front end right out of the can. Once the masking tape was removed, the car now had a red front and a black back. Red flames were hand painted into the black. Once the red flames dried and cured, a yellow pinstripe was added to outline the flames for a very hot look! Green and orange are my oldest brother's favorite colors. Each of these cars started life with factory green coat with designs which were removed with finger nail polish remover and a Q-tip. The cars were taken apart and the "tampos" or designs were rubbed off. The car body was mounted on a paint stand, ready to accept painted flames. Let's make "fading flames". Yellow flames were brushed on with thin coats. The paint was pulled from the pointed brush tip forward. The entire flame was painted. After the yellow paint dried, orange paint was applied. The paint should be thinned and applied in very thin coats. A heavier concentration of orange color was applied at the front end. At the point where the two colors meet further down the body, its time to "dry brush." The orange paint on the brush tip was squeezed out between two fingers. At this point, most of the orange paint has been removed from the bristles. Wipe your fingers on a paper towel. Lightly paint the intersection of yellow and orange and watch as the two colors begin to fade together. After a few strokes of the brush, dip the bristles into the paint and repeat this process. Working with thin coats and further dry brushing, the fade will become smoother as you work in both directions for the original point of color merge. Clean the brush as you go and continue painting. If necessary, dry brush with yellow too. You will be pleasantly surprised at your faded flames with patience and practice! Clean up outlines with Oops latex remover or mineral spirits on a small brush. You know how much I like Vintage racers (see last month).With car body in hand on a paint stand, I allowed my imagination to follow the curves of the car body. Light blue flames were applied, keeping in mind that an interior color would be added "inside", leaving the blue as the outline. The pointed brush tip with paint was pulled forward leaving the flame tips. This method employs the correctability of shaping and detailing each flame- outside by the "body" color and inside by the "interior" color. If you make a mistake, you can easily cover up a "slip of the brush." Oops latex remover or mineral spirits can also correct the flame. The flames could have been completely painted and then pinstriped in the end too.---It is all good! Experiment to determine what works best for you- most importantly have fun! This Fat-fendered '40 Ford was adorned with hand painted red-orange flames. The flames were next outlined in yellow. As if that was not enough, the yellow was finally outlined in blue. Because the color "value" of the yellow was too close to the value of the light blue body color, the pin striping of the dark blue offered greater contrast and a more striking pose to this little fat man. These panel trucks were treated to a variety of scallop and flame treatments. You will find that the color wheel is there for your personal enjoyment. Explore different combinations of "hot"-yellow-orange-red and "cool"-purple-blue-green in all their glory. The rodding culture may have traditions--these are YOUR little rods so, why not break with tradition! Here's a different approach. After scribbling your ideas on paper, take a small brush in hand and dip it into an "outline color." Carefully pull and dribble the paint across the body slightly raising and lowering the brush. Larger and smaller blobs will appear with varying pressure. After this color dries, follow the same procedure with an interior color leaving an outline of the previous color showing. Shape any areas you wish by alternating with the "body" and "outline" colors. Further shape with mineral spirits on a brush. Once this graphic has cured, clear coat it for a showroom shine. It takes on the appearance of a "splash" graphic, but with a little more pizzazz. Watch for future installments on issues of customizing and the hot rod culture and continue to enjoy our hobby! Email me - thphelps@medart.jhu.edu or this Webzine, and let's talk rods and customs. |
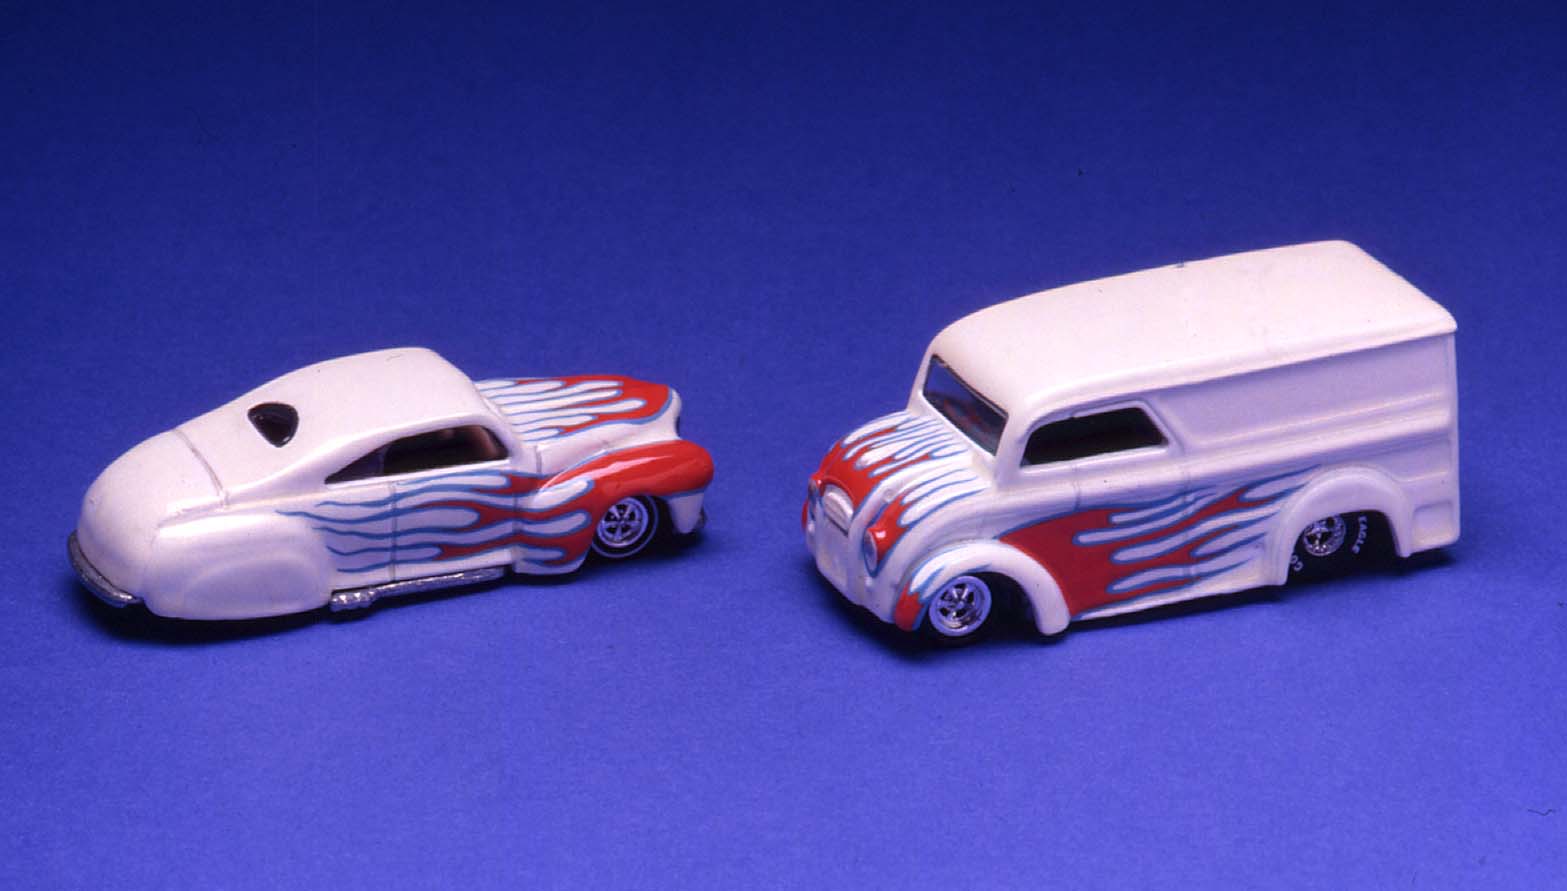 Tail Dragger and Milk Truck 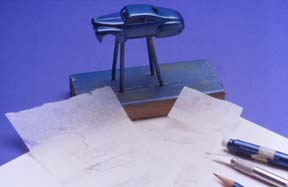 Car Setup 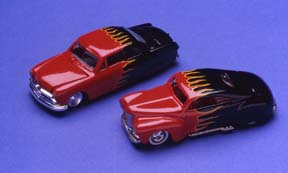 Black and Red Street Cruisers 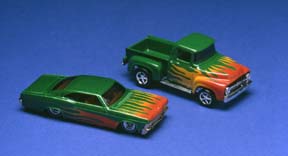 Green and Orange Fading Flames 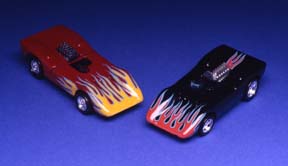 Flamed Ferrari's 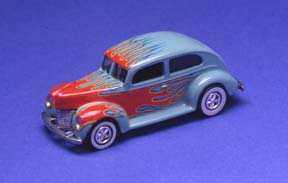 Fat Fendered '40 Ford 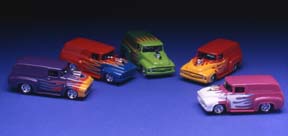 '56 Ford Panel Trucks 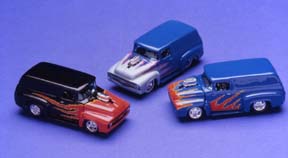 3 more '56 Ford Panel Trucks |